How To Make Car Freshies: A Step-By-Step Guide
Shop for Custom-Made Car Freshies - View all
Cute Cartoon Freshies Air Fragrance Magnetic
Air Conditioner Perfume Air Cleaner
Car Air Diffuser Men's and Women's Perfume
Car Air Freshener Cute Couple Doll Vent Clip
Car Air Freshener Perfume Record Player
Car Air Freshener Solar Rotating Diffuser
What are Car Freshies?
Car freshies are hanging air fresheners used in cars, lockers, drawers, and closets. These usually take the scent of fragrance or essential oils. The term “freshie” is a shortened word for car air freshener. There isn’t a strict guideline on how to make car freshies, as long as you use the most fundamental ingredients.
So, the freshie’s scent and shape are entirely up to you. Car freshies are often molded into shapes using cookie cutters or ice molds. They may even appear in the traditional car-shaped form by setting them in car ice cube trays.
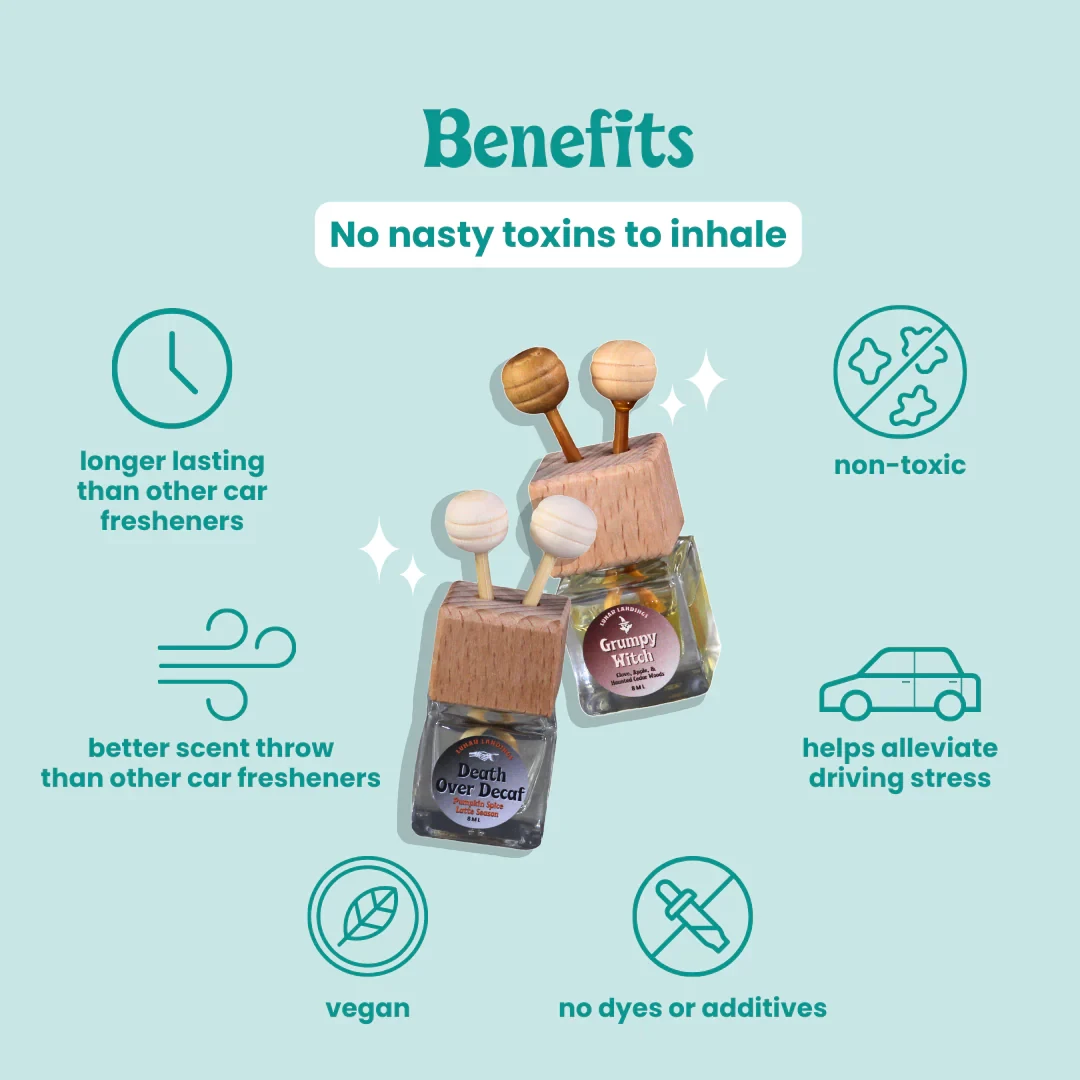
The Benefits of Car Freshies
The primary benefit of using car fresheners is the pleasant fragrance they imbue in the vehicle. Such a benefit is especially beneficial during long drives and heavy traffic.
But is there anything more to car freshies than that?
One may wonder if car freshies have other benefits besides their pleasant scent. However, there are several benefits of using car freshies.
These include the following:
-
Availability in various shapes and forms.
-
Total elimination of bad smells.
-
It Provides a feeling of freshness.
-
Variety of scent options.
-
Act as disinfectant
Their benefits are attached to the kind of fragrance used in each car freshie. Nonetheless, they’d help with providing a pleasant ambiance inside the car.
Step 1: Gather Your Materials
To start creating your car freshies, you must gather your materials. To begin crafting your car freshies, ensure you have the essential materials ready. Gather fragrance oils, hanging strings, scissors, and felt fabric. These four items will serve as the foundation for creating your delightful and personalized car fresheners.
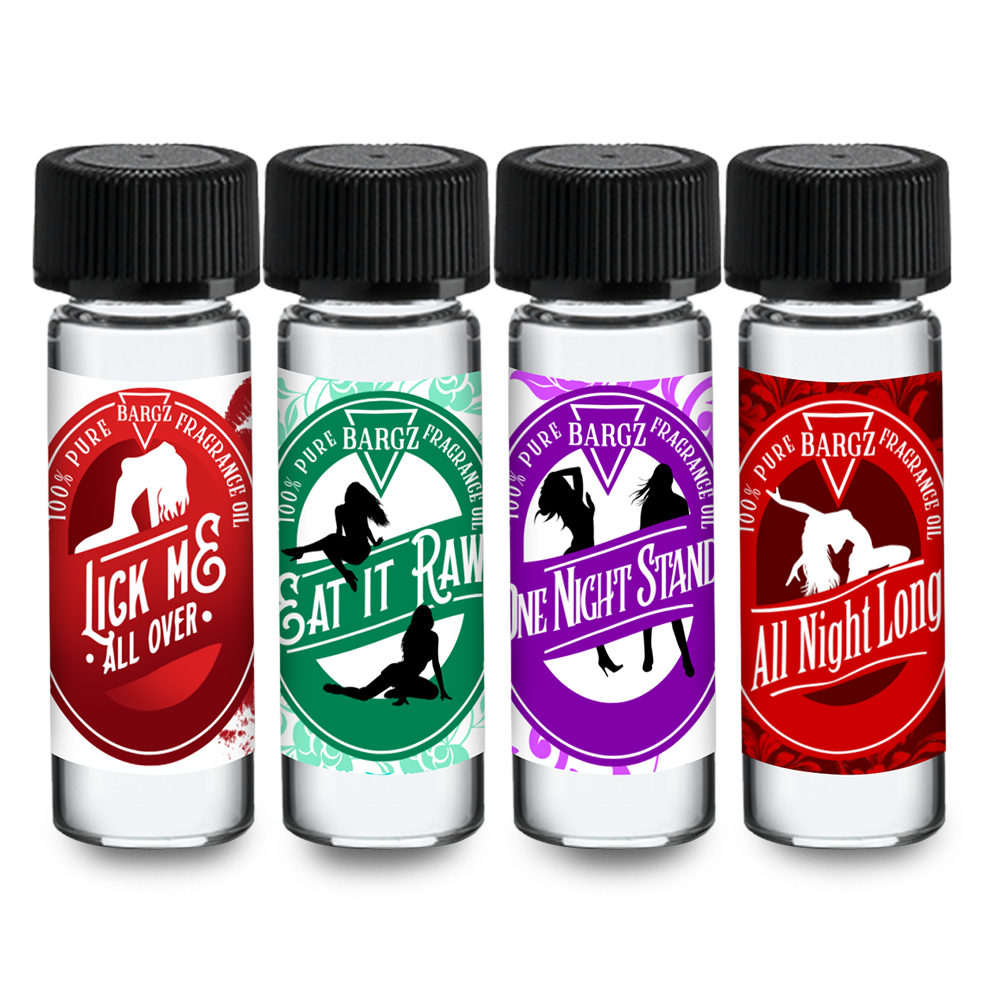
Fragrance Oils
Explore a variety of scents crafted to perfection. Choose the one that suits

Hanging Strings
Choose a method to hang your car freshener. Practicality meets style.
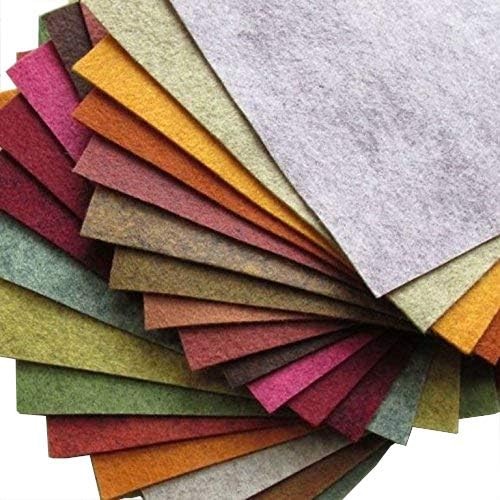
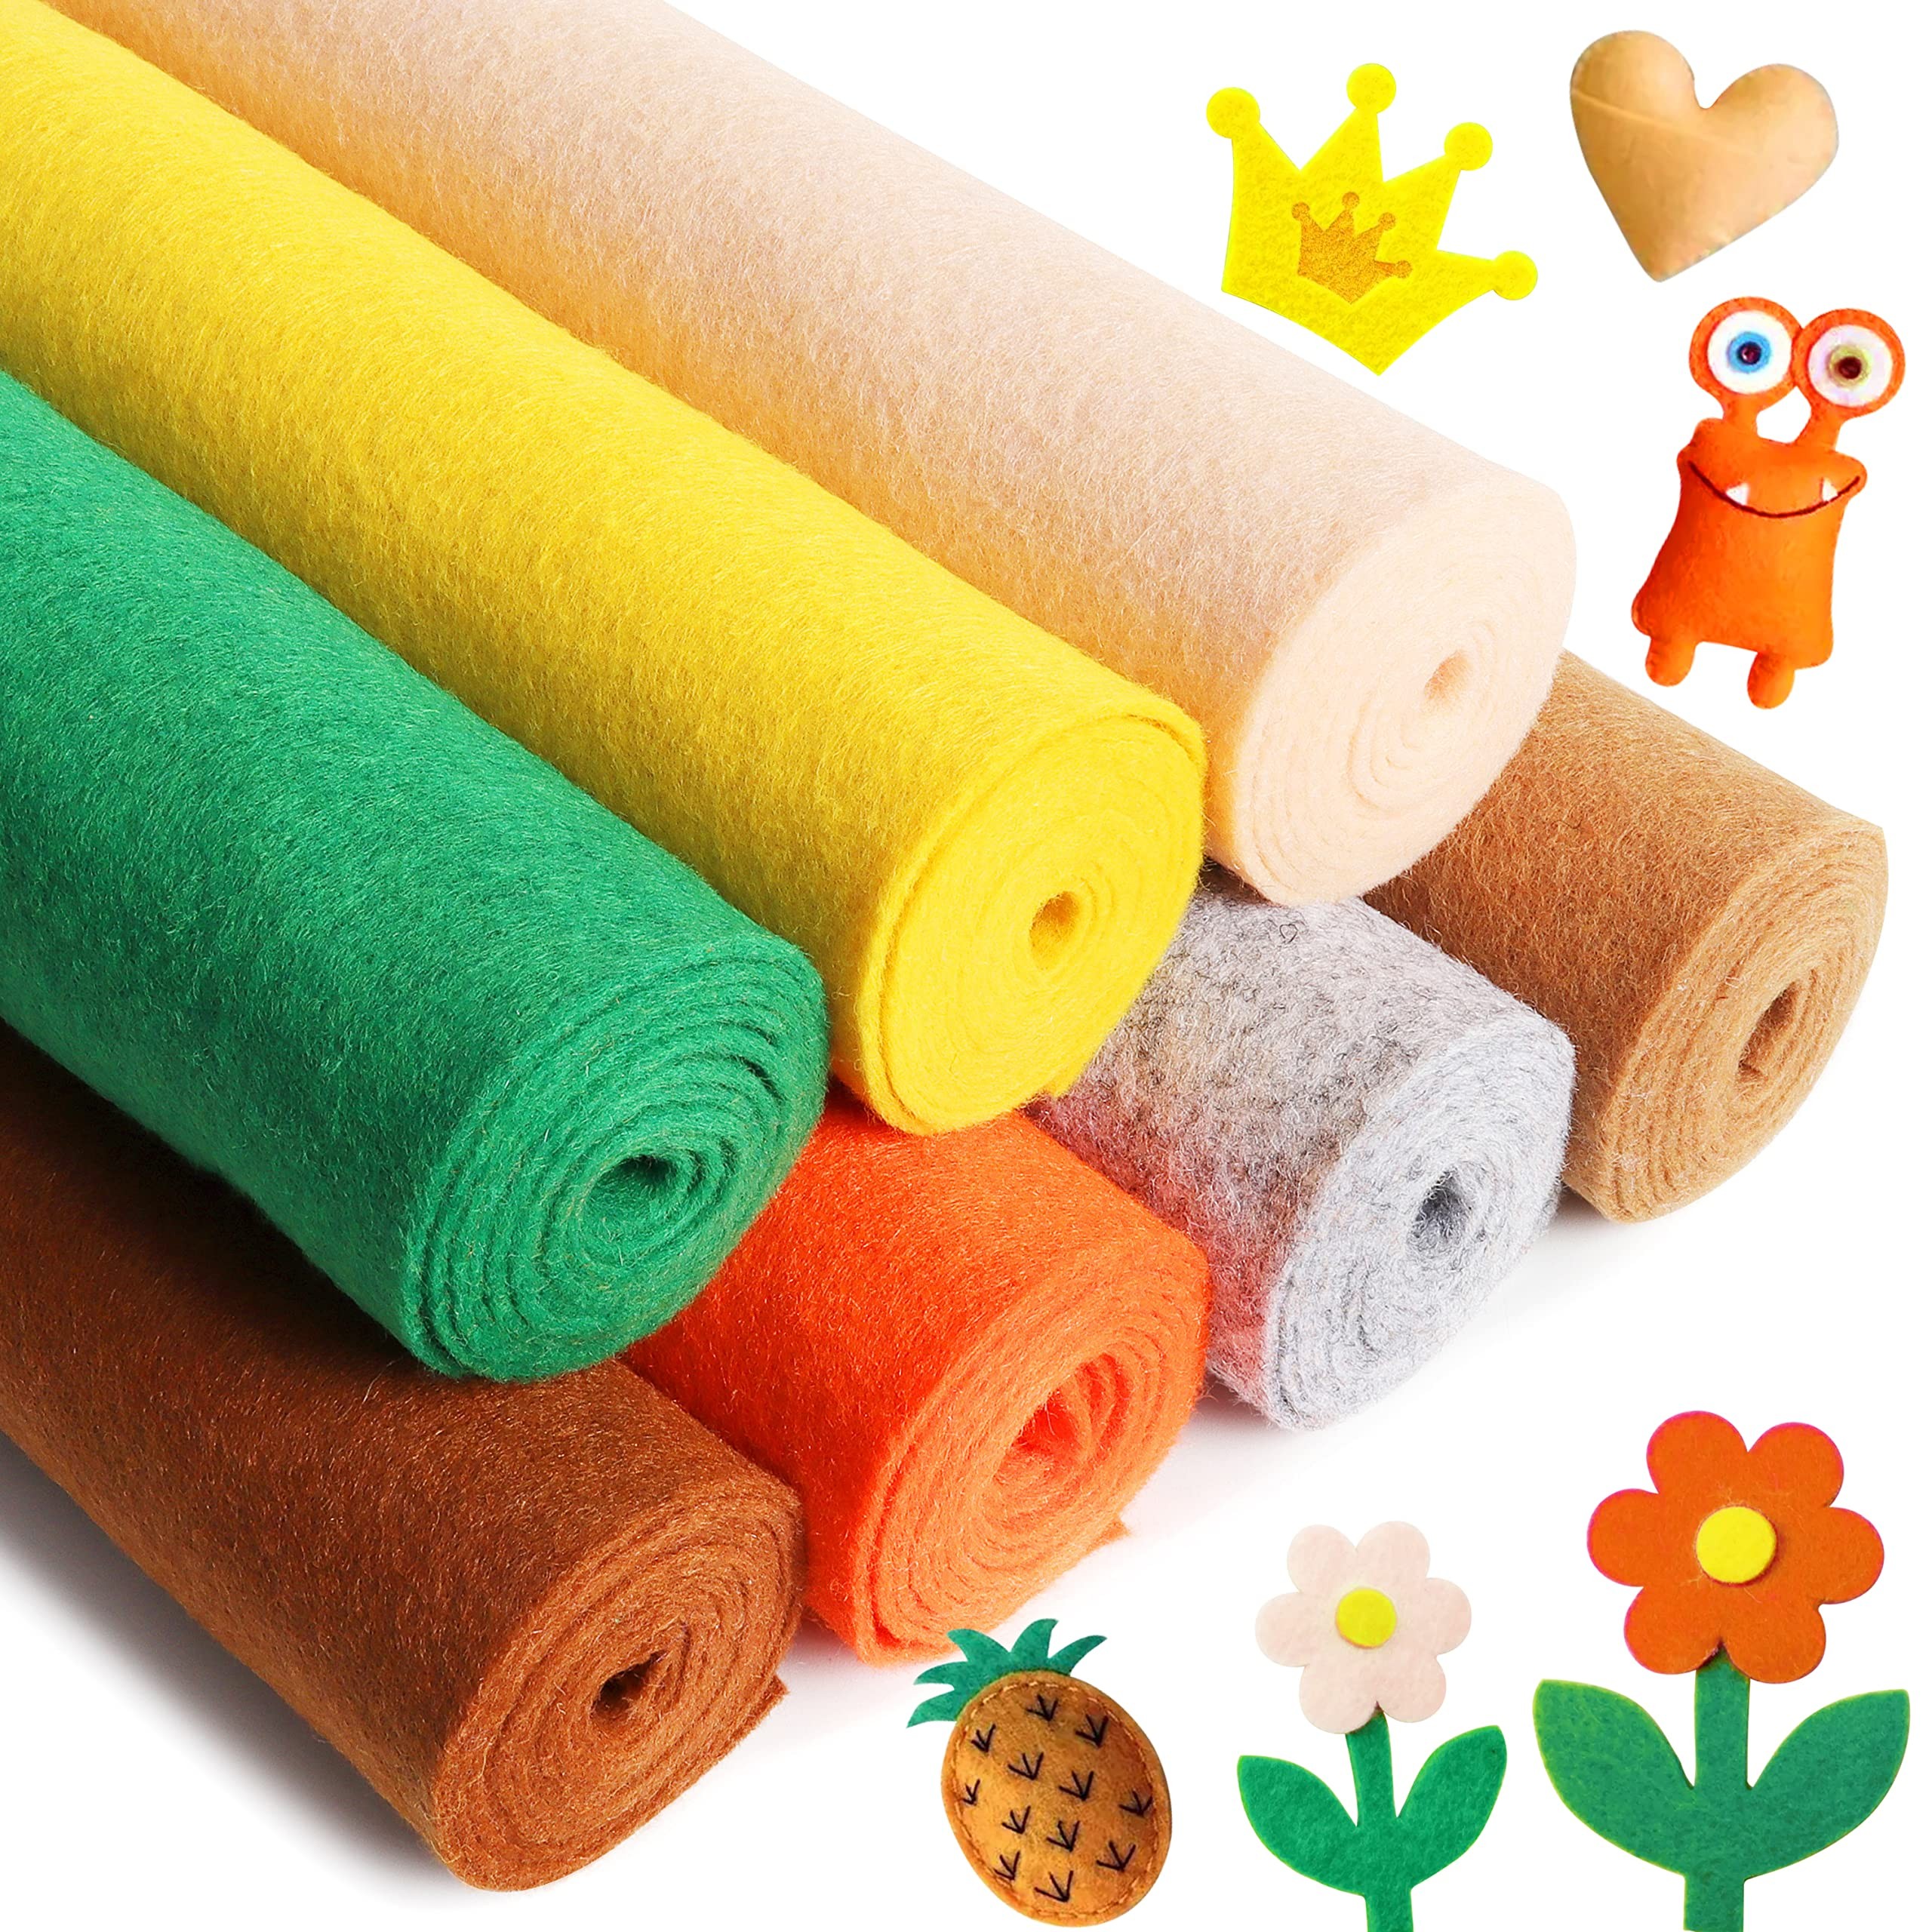
Felt Fabric
Felt or any other material to form the main structure of the car freshie
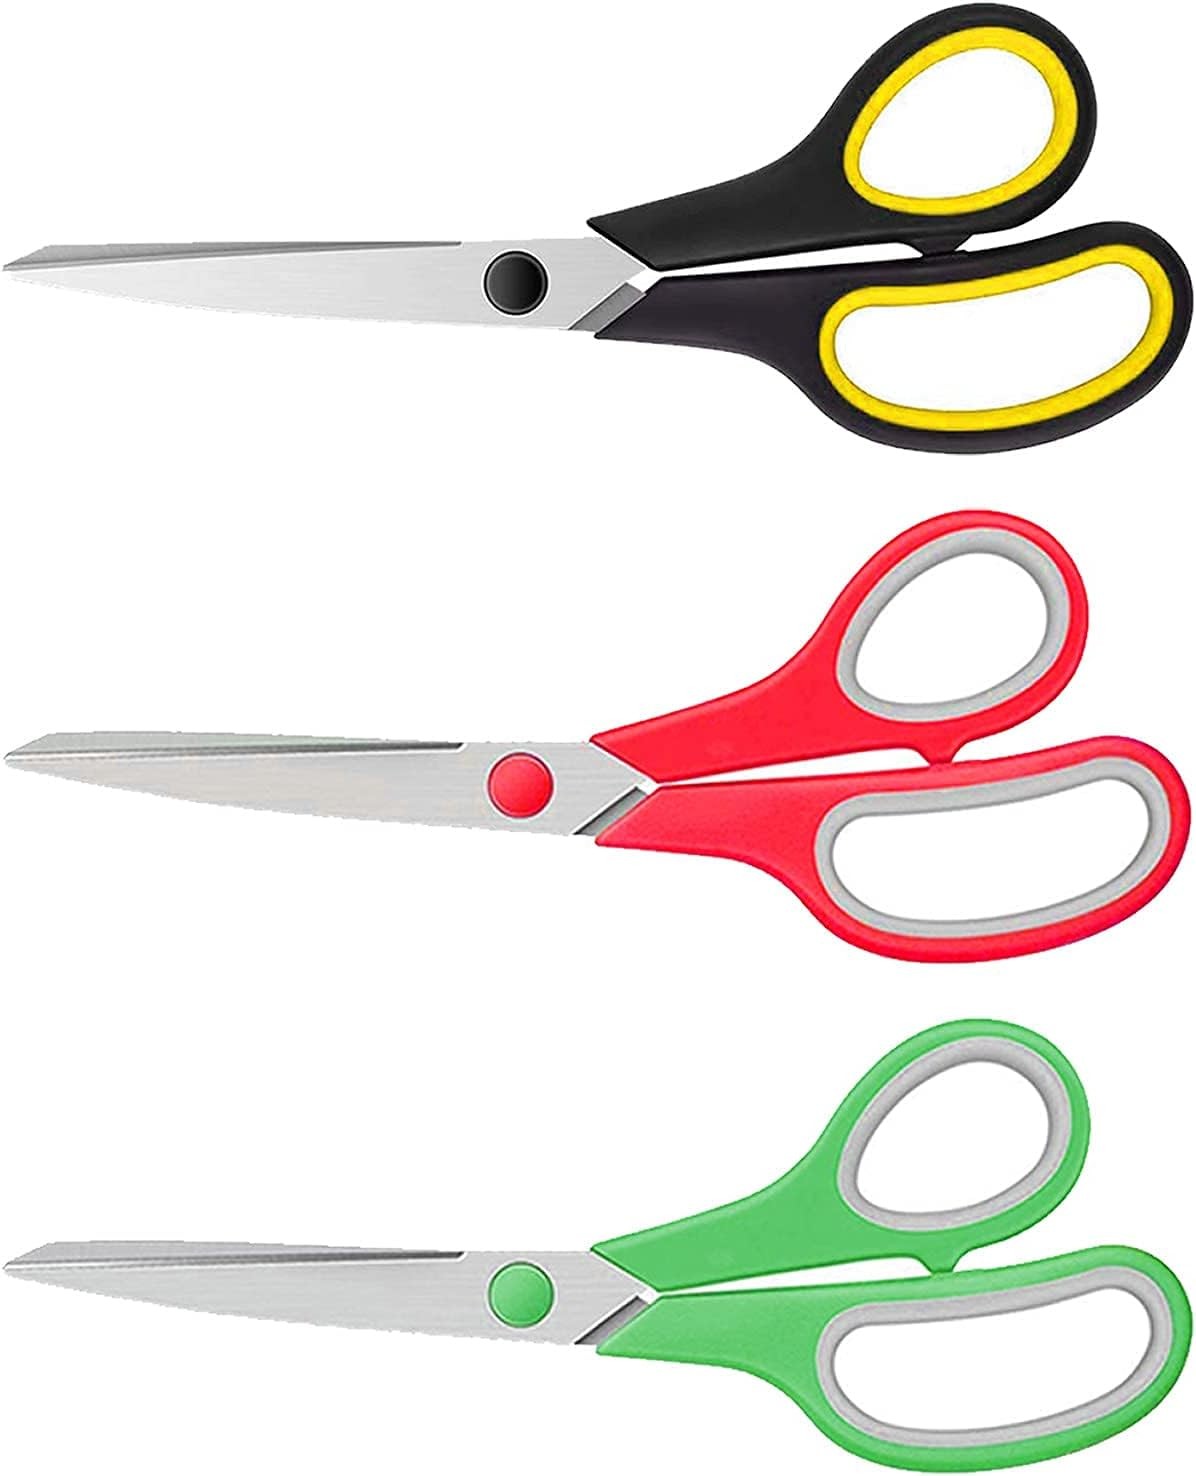
Cutting Tools
Scissors, craft knives, or die-cutting tools to shape the base material into desired forms
Step 2: Cooking Up Your Fragrance:
Prepare Your Workspace:
Begin by ensuring your workspace is clean and clutter-free. Open windows or use a fan for proper ventilation, creating an environment conducive to focused creativity.
Explore Bargz's Fragrance Oils:
Dive into Bargz's diverse selection of fragrance oils. Crafted with precision, these oils offer a spectrum of scents, from floral and fruity to earthy notes. Choose the ones that resonate with your preferences.
Select Your Mixing Bowl:
Grab a small mixing bowl as your canvas for blending. This vessel will be the key to weaving together the perfect scent symphony.
Gather Your Materials:
Assemble your chosen fragrance oils and a carrier oil, such as jojoba or sweet almond oil. This carrier oil not only dilutes the fragrance but also helps achieve a harmonious balance.
Experiment with Proportions:
Play with proportions in your mixing bowl, adjusting ratios to find the optimal intensity that aligns with your aromatic preferences.
With your workspace ready, fragrance oils selected, and mixing bowl in hand, you're now equipped to embark on the aromatic adventure of crafting a signature fragrance blend for your car freshies.
Step 3: Making Your Car Freshies
With your materials gathered, it's time to bring your car freshie to life. Follow these straightforward steps to create a personalized and aromatic masterpiece:.
Step 1: Select Your Base Material
Choose the felt fabric as your base material. Its versatility and ease of manipulation make it an excellent choice for crafting your car freshie.
Why Felt Fabric?
Felt fabric offers a myriad of advantages for crafting car freshies. Its soft yet sturdy nature allows for easy cutting and shaping, making it an ideal canvas for your creative expressions.
The material is available in a spectrum of colors, enabling you to personalize each freshie to match your preferences or even your vehicle's interior.
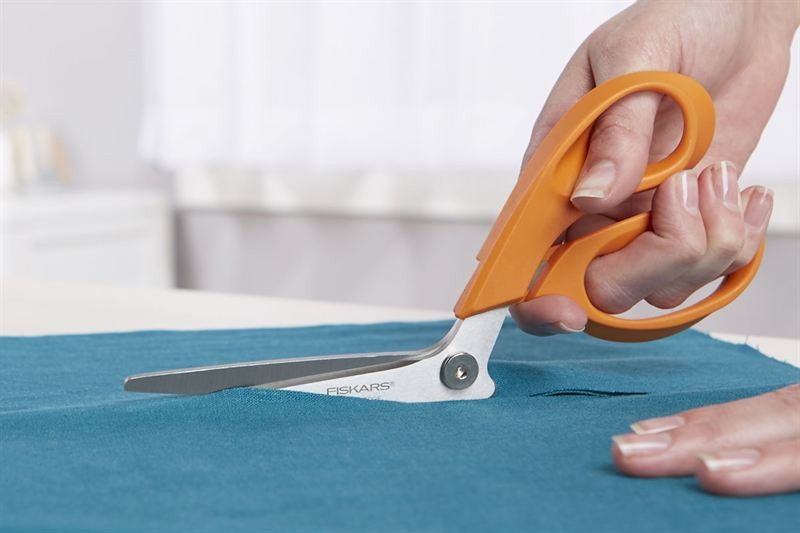
Step 2: Shape Your Freshie
Use scissors to carefully cut the felt fabric into your desired shape. Whether it's a classic design or something unique, let your creativity guide the process.
As you wield the scissors, envision the final look of your car freshener. Tailor it to your personal style or even match it to the aesthetic of your vehicle's interior.
This step not only involves crafting a visually appealing freshener but also marks the point where your artistic expression begins to take tangible form, turning basic materials into a customized and aromatic accessory
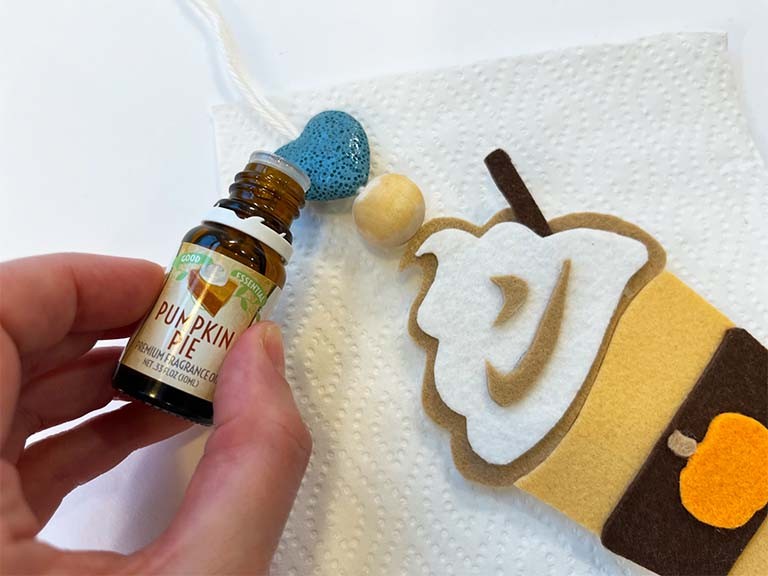
Step 3: Apply Fragrance Oil
Moving forward in the car freshener crafting process, it's time to infuse your creation with a delightful scent. Take your chosen fragrance oil and generously apply it to the felt fabric. Ensure an even distribution across the material to achieve the desired scent intensity.
This step adds a sensorial element to your DIY project, transforming it from a visual creation to a fragrant experience. Selecting a fragrance oil that resonates with your preferences enhances the personal touch of your car freshener.
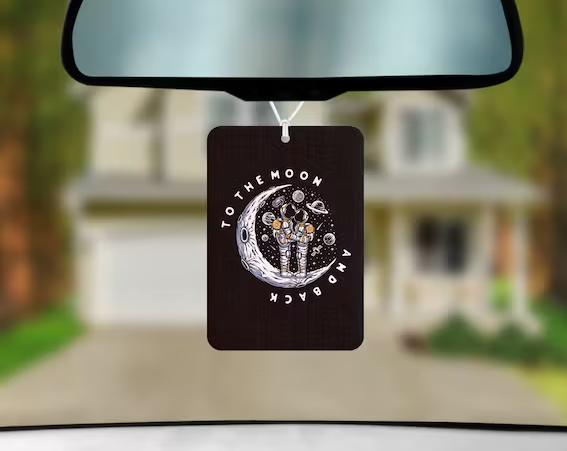
Step 4: Attach Hanging String
In the final step of crafting your car freshener, it's time to add the finishing touch that transforms your creation into a functional and decorative accessory.
Securely attach a hanging string to your freshly scented felt fabric. This string serves both a practical purpose and an aesthetic one, allowing you to elegantly display your car freshener from the rearview mirror.
Choose a string that complements the overall design and color scheme of your car freshener. Whether you opt for a simple and understated look or a more elaborate and decorative string, this detail enhances the visual appeal
With these simple steps, you've transformed basic materials into a customized car freshie ready to infuse your vehicle with a delightful fragrance. This hands-on process ensures a personal touch to every freshie you create.
Place in Your Vehicle and Enjoy!
Now you've learned how to make a car freshie. You can enjoy your rides with your favorite fragrances. This simple car freshener recipe will get you to make more freshies and eliminate malodor such as burning rubber smell from car. You can also explore using other fragrances and essential oils